Home > Installation
Installation of your my500e Telematic-Module
Setup instructions for the Wi-Fi module can be found here
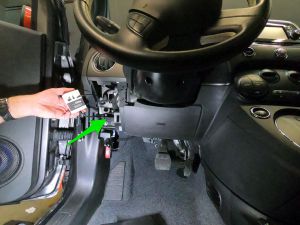
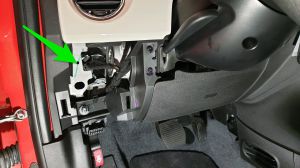
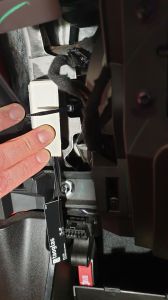
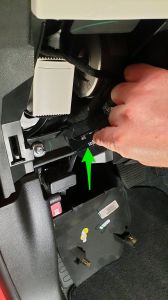
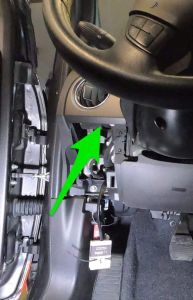
Please observe the following installation instructions carefully; warranty will be void if incorrectly installed or if the housing will be opened.
3. Watch the flashing of the LED's through the vents, at the beginning you should see green and red flashing, which after a while turns into a blue and red flashing.
4. After 4 minutes at the latest, the fast blue blinking should turn into a slow light and dark glowing (mixed with some red fast blinking aside), this is the signal that the telematics module is connected to the server.
US-Customers: due to the different GSM frequencies used, we can't properly pre-register the SIM card in advance. Please send us an email as soon as your unit is connected to the vehicle, we'll finish the registration process ASAP, but there might be a delay due to the different time-zone we have (GMT+1).
8. Put the cover back in place.
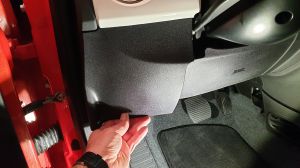
9. Now open the webapp in your smartphone's browser with the provided link


